Diagramming with Grid
It is almost impossible to draw the diagrams by hand with pixel perfect alignment. Or, it would be, if there are no alignment helpers - e.g. grid. The grid can help you to better position elements in your diagrams.
The grid may be turned on from the ribbon: View/Auto Guides/Grid. If you click the Grid button it will show or hide the grid and also it turns on/off snapping to the grid. There is a separate button 'Snap To Grid', which allows you to control the snapping separately. You may also show grid without snapping to it directly - click on arrow button under Grid button and choose 'Show Grid' item from the drop down menu.
Apart from that, the Grid menu offers more options, which allows you to adjust the appearance of the grid:
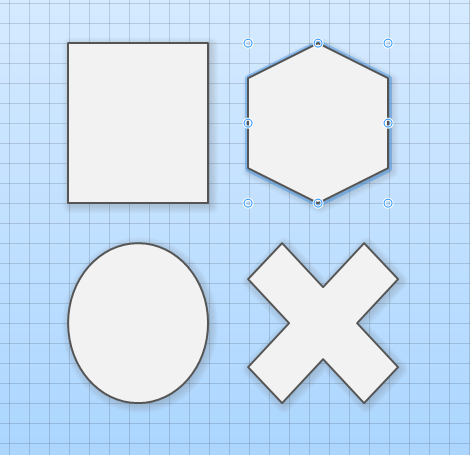
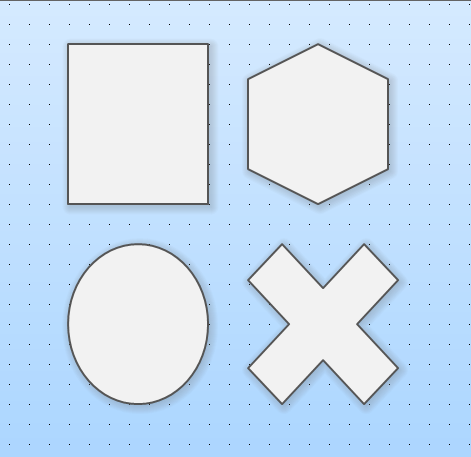
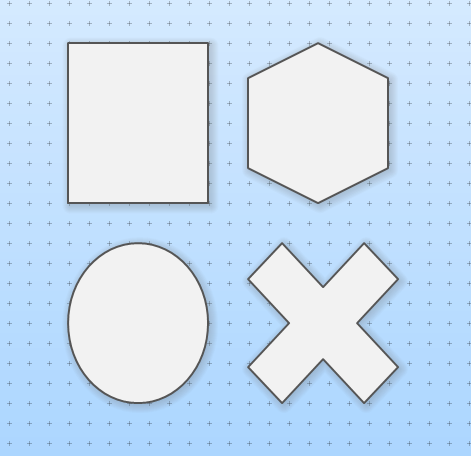
- Lines
- Dots
- Crosses
You may also adjust the size of the grid and choose from these predefined options:
- 10
- 15
- 20
- 25
Advanced Grid Settings
If you did not find in the ribbon options what you were looking for, you may try to check out Options dialog. It provides advanced settings for the Grid. Click on File menu and then Options. In the Options dialog, switch to Diagram Editor tab. You will find more settings there in the Grid group. Except for grid type setting and switches for displaying and snapping to grip, there are two additional options - Horizontal and Vertical spacing. They allow you to set each dimension of grid separately and to any values.
The default shortcut keys for showing the grid and snapping to it is: ALT + G
New Comment