Style Set Editor
Using the Style Set Editor you may create a new style set or edit an existing one.
If you want to edit the current project style set, open the ribbon Design tab and in the Style Sets group click on the drop down arrow of the Style Set button and then click on Edit Current Style Set.
Style Set Editor also opens when you click on Add, Duplicate or Edit button in the Style Set Manager. The Style Set Manager is accessible from the ribbon Design tab / Style Sets group / Style Set button.
Editor Parts
The editor window consists of a toolbar, style list, preview panel and editor tabs (Style and Type).
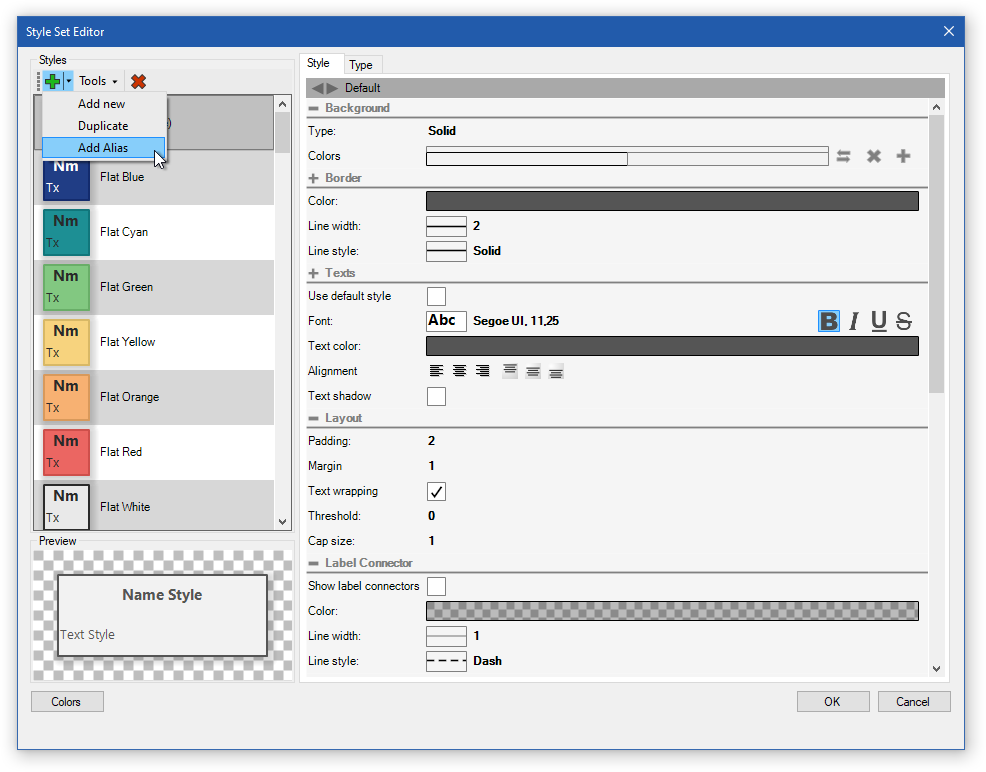
The toolbar offers actions for editing the current style set:
- Add New – adds a new style to the style set
- Duplicate – adds a new style as a duplicate of the selected style to the style set
- Add Alias – adds an alias to an existing style. This way the same style may be used for multiple styling rules.
- Tools
- Unify Fonts by Selected – sets the font of the selected style to all styles in the style set.
- Delete – removes the selected style from the style set.
Below the toolbar, there is a list of all styles in the style set. Each item contains a visual preview of its style and name (or the styling rule).
Below the style list, there is the Preview panel which shows what the currently edited style will look like used on an element.
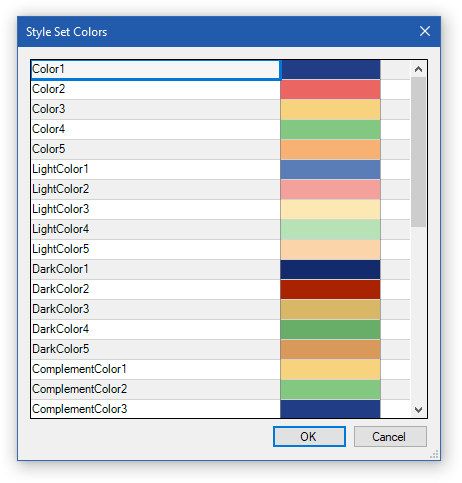
In the left bottom corner of the window, there is the Colors button. It allows you to edit the basic colors for the edited style set.
On the right of the style list, there is the main area of the Style Set editor where the style and the styling rule may be set.
Style Tab
The Style tab provides the Style Editor which allows you to adjust the style properties as background, border, etc. By default, the base style is open to editing but using the top bar, you may switch the editor to complementary styles (Alternate, Color Codes) or also add a new complementary style.
After clicking on the top bar in the style editor, the context menu shows up. It offers a list of complementary styles of the style. After clicking the name of a complementary style, the editor switches to this substyle shows its definition and allows you to edit it. Except for the list of complementary styles, the menu offers the submenu Add Alternative Style, which allows you to create a new alternative (complementary) style from the base style with the following options:
- Same Style As Default
- Lighter Style
- Much Lighter Style
- Darker Style
- Grayscale
- Inverted Brightness
- Complementary Colors
- Inverted Colors
- Fill By Border
- White
- Black
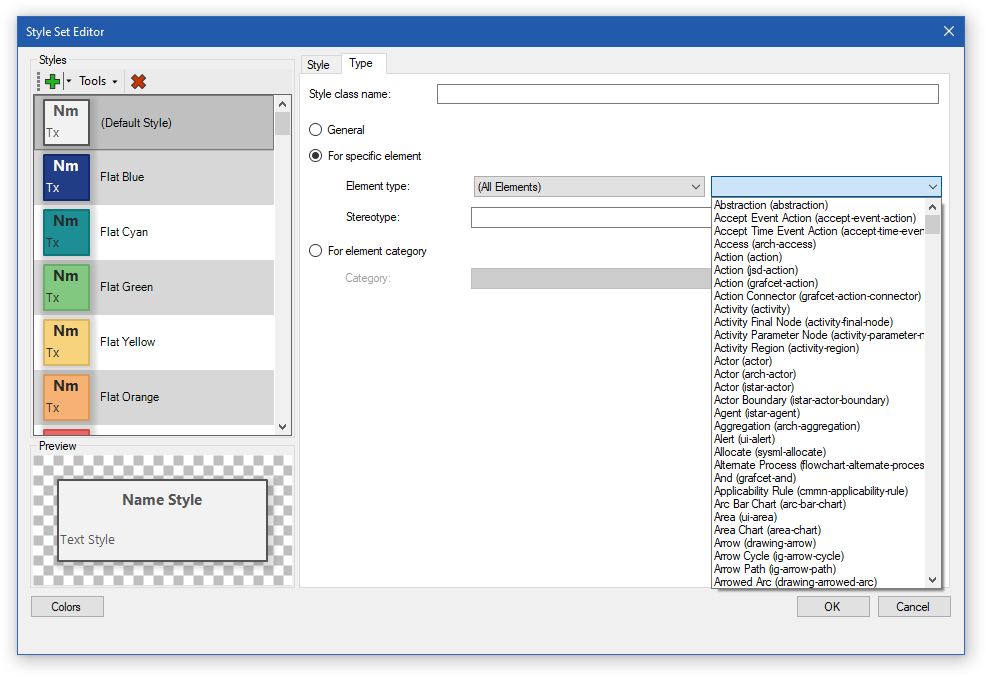
Type Tab
The Type tab allows you to set the style name or the styling rule. There are these styling rules:
- General – the style is applied only on a user action
- For specific element – the style is applied automatically for the specified combination of:
- Element type
- Stereotype
- For element category – the style is applied automatically for the specified category of elements. These categories are supported: Entity/Relationship/Drawing/Container/Labeled Entity.
New Comment