Basic Diagramming Operations (Day 3)
Select Elements
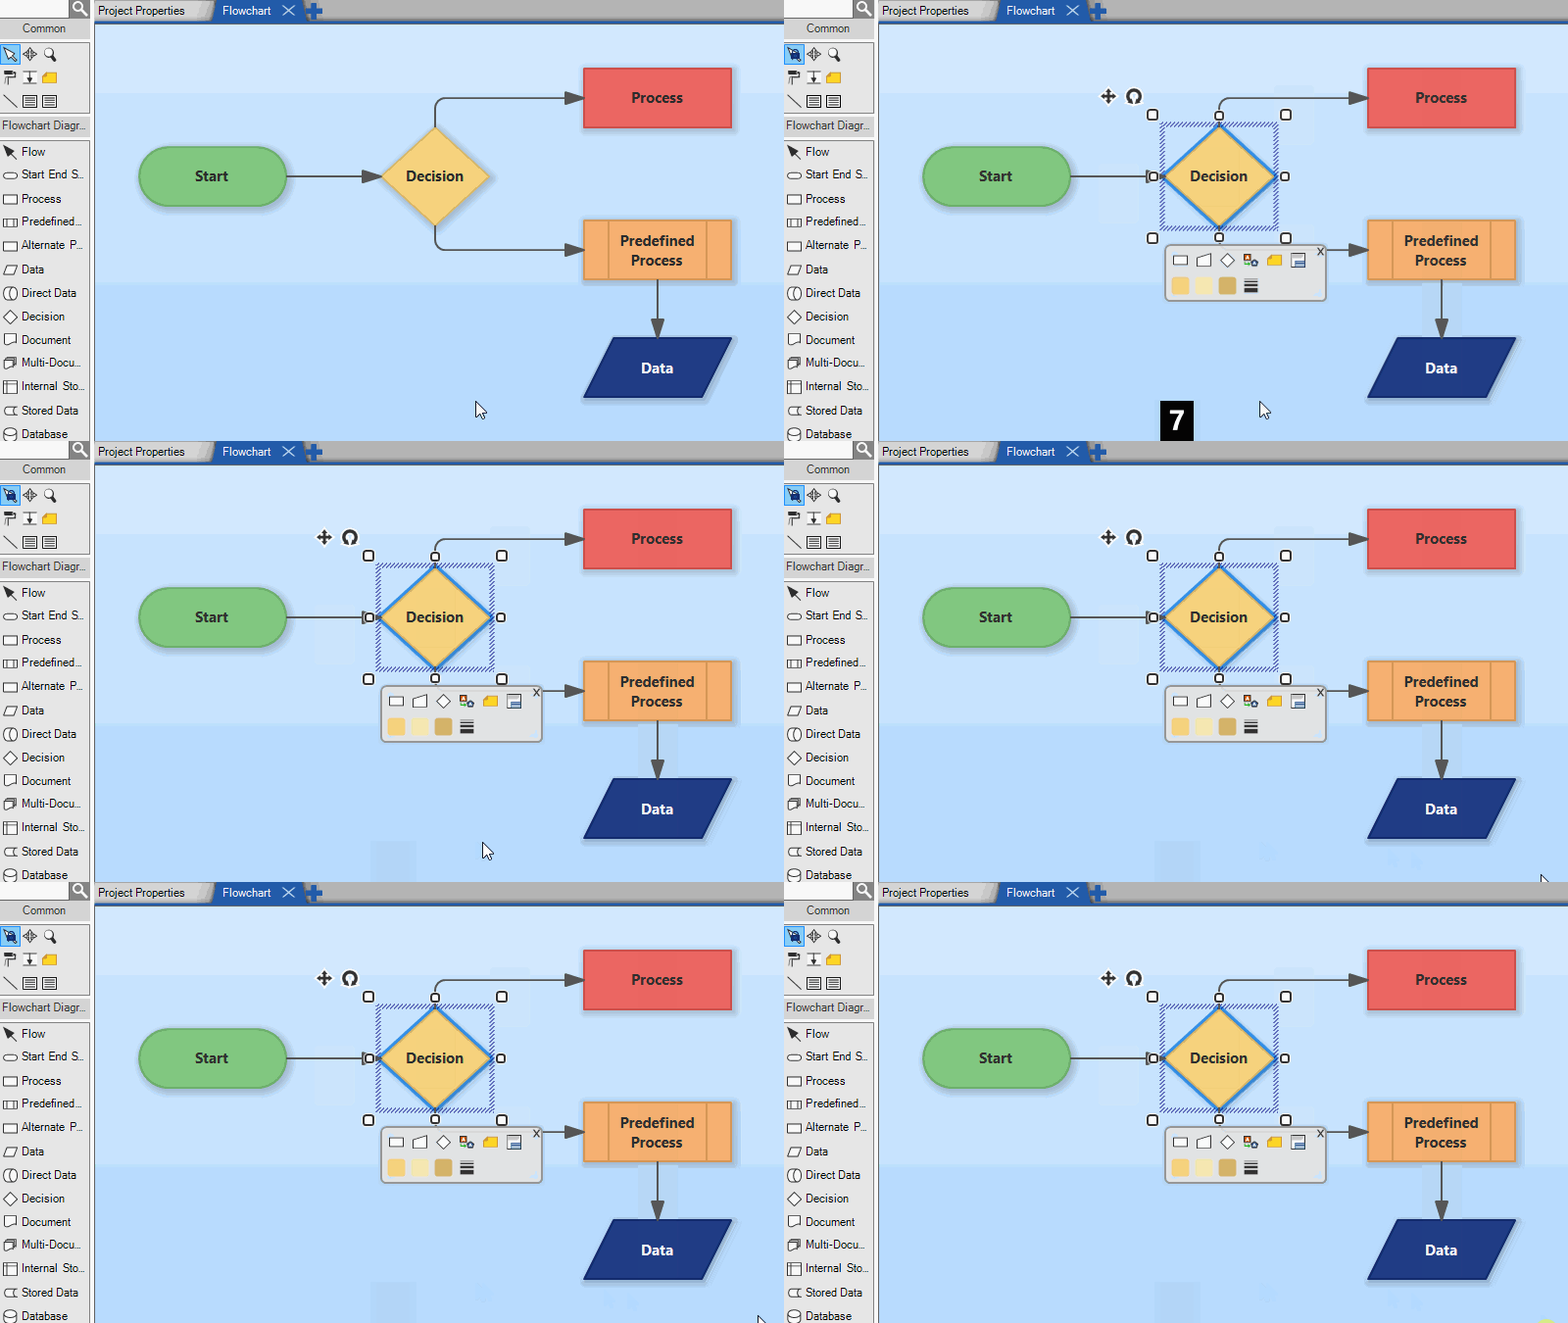
Selection is an important operation in diagramming. It allows you to specify which elements you want to work with. Software Ideas Modeler provides several ways how to select elements and how to work with the selection in general.
If you want to perform a selection operation, the Selection tool must be active. The Selection tool is the first tool in the toolbox. You may also activate it using the F3 key. You may select an element clicking on it. If there was another element selected, it will not be anymore. Unless, you hold CTRL or SHIFT key, which allows you to add other elements to an existing selection. If you want to select all elements in a particular area in the diagram, press and hold the mouse button over pen when you want to start the selection bounds and release the button when the bounds cover all elements you want to select.
You may select the element using keys too (Smart Keys feature). Press the F3 key, the elements in the diagram will get numbers. If you press the number key, the corresponding element will be selected.

Another useful key in terms of selection is Tab. If you press the Tab key, the next element will be selected. If you press SHIFT+Tab the previous element will be selected.
Software Ideas Modeler also supports standard selection actions for selecting all elements and for inverting the selection. The advanced selection features allow you to select the whole graph of connected elements, all elements of the same type or the parent container. The selection actions are available in the ribbon Home Tab/Editing group/Selection button
Renaming Elements
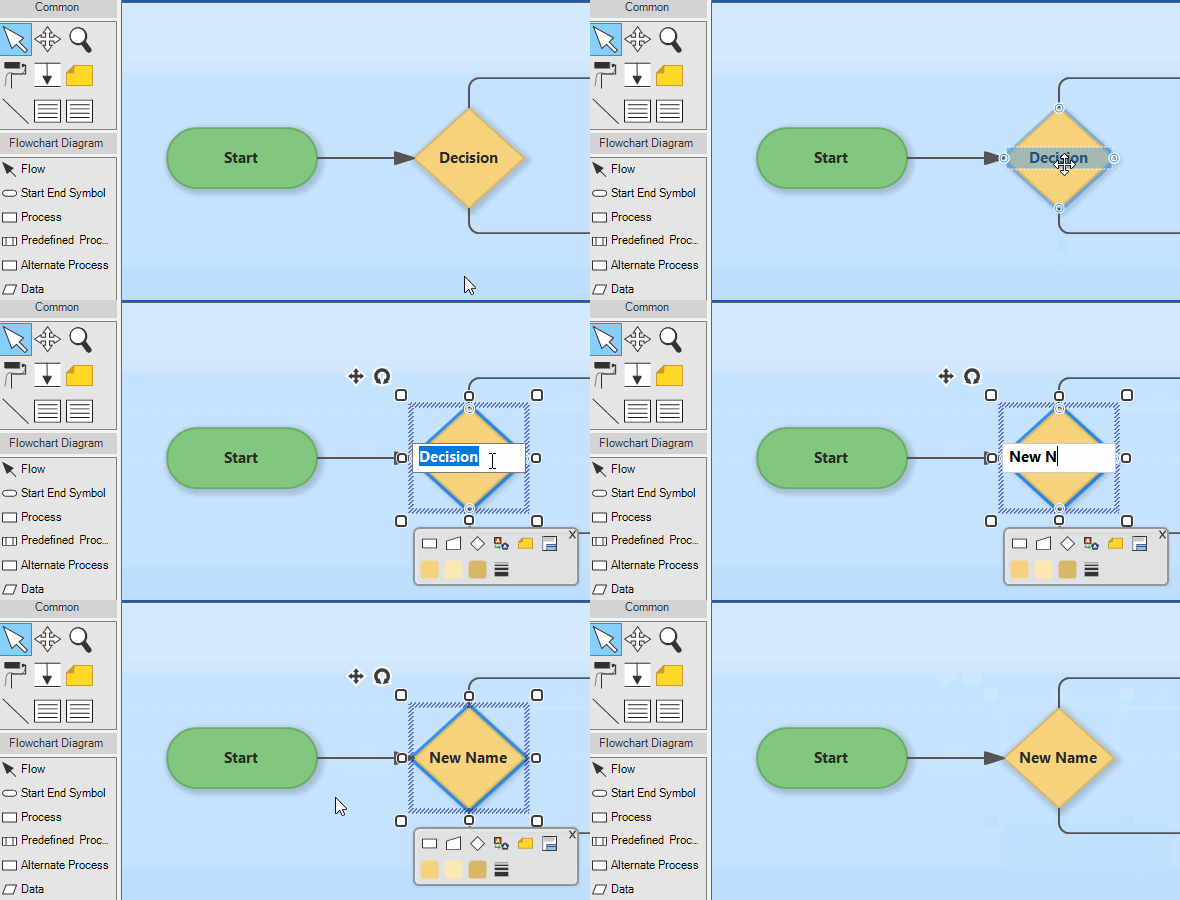
After inserting an element to a diagram, you may set its name. The name is not unchangeable. You may rename elements any time after their creation. There are many ways how to do it – just select the element and click on its name to start its editing. You may press the F2 key to edit the name of a selected element.

If you open the Properties dialog for a selected element, you may change the name there – in the Name field on the General tab.
You may also rename the elements in the project tree (in the sidebar) – clicking on an element item once after it was selected or right-click on it and choose Rename from the context menu.
You may choose whether you want to start renaming an element in a single click, double click or on the second click after element selection. You may set your preference in the Options dialog on the Diagram Editor tab in the Renaming group. The default option is renaming on the second click.
Delete Elements
If you decide that an element is not wanted in a diagram anymore, you can delete it. As Software Ideas Modeler utilizes the concept of dual nature of elements (an element is split to a model and its presence in diagrams), you have to decide whether you want to delete the element from the project completely or to delete only its presence in a particular diagram.
The default behavior for delete is the smart delete algorithm. It is used when you press the DELETE key to delete an element. If the element is used on multiple diagrams, only the selected element instance on the diagram is deleted, the model and other instances are preserved. If the selected instance is the only instance, the element will be deleted completely from the project, including its model.
If the element was the last instance (or it was always the only one) and smart delete feature has removed it, a warning panel will be displayed in the bottom part of the diagram editor – you may close it if it is a wanted state or you may restore the deleted element model using the dedicated button in the panel.
Sometimes, you may want to decide otherwise. There are separate delete actions for those cases:
- Delete From Diagram – deletes only the selected instance of an element in a diagram. Other instances remain intact as well as the model.
- Delete From Project – deletes the model of a selected element and all its diagram instances.
The delete actions are available in the context menu (displayed after right-clicking on an element or a group of elements). They are also available in the ribbon – Home/Clipboard/Delete or in the classic menu Edit/Delete Special.
There are also other options on how to delete elements:
- Delete With Relations – deletes the selected elements including all their relations in the diagram.
- Delete Without Nested Elements – deletes the selected elements and only them, the selected containers will be deleted without the nested elements.
If you want to delete a field of an element (e.g. attribute or operation), you have to select it and press the DELETE key. You may also right-click on the desired field and choose Remove Field from the context menu.
Copying Elements
If you need to use the same element in multiple places, you may find the copy & paste features useful. You may also copy the elements to other projects. You may even copy the elements to other applications as there are multiple representations of the copied data:
- Native objects – allows you to copy the selected elements and paste them to other diagrams or even projects.
- Text – allows you to paste the copied elements to a plain text editor (e.g. Notepad).
- Bitmap – allows you to paste the copied elements to a graphical editor or to a formatted text editor (e.g. Word, Libre Office Writer)
If you want to move an element (or elements) to another diagram or project you may use Cut action. It copies the selected elements and removes them from the current place. Then you may paste them to a new place.
The software offers other special copy actions:
- Copy as Bitmap – copies the selection only as a bitmap to the clipboard.
- Copy as Metafile – copies the selection only as a vector graphics to the clipboard.
The Copy, Cut and Paste actions are available in the context menu, in the ribbon Home/Clipboard, and in the classic menu Edit.
If you want to copy the whole diagram to the clipboard, right-click on a free space in a diagram and choose Copy Diagram from the context menu. The same menu may also be used to paste the copied elements from the clipboard to the current diagram.
Pasting Elements
The copied elements may be pasted into the same diagram from which they were copied from or to another diagram in the same project or even in another project.
Software Ideas Modeler provides two option on how to handle the pasted elements:
- Paste as Independent Copy – the model of a pasted elements will be separated from the original elements. If you change the pasted elements, the changes will not affect the original copied elements in any way.
- Paste as New Instance – the model of a pasted element (or elements) will be shared with the original copied element (elements). So, if you change any of the element instances, the change will be spread to all the instances. Paste as New Instance may not be used when copying elements from another project.

New Comment